Wall Mounted VM box and Router Part:5 - Mounting
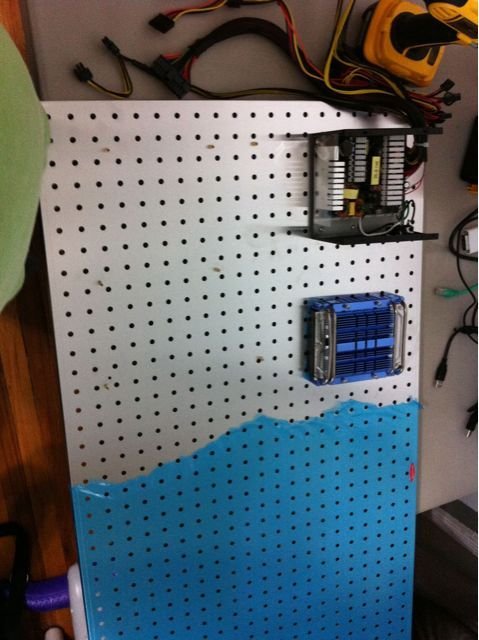
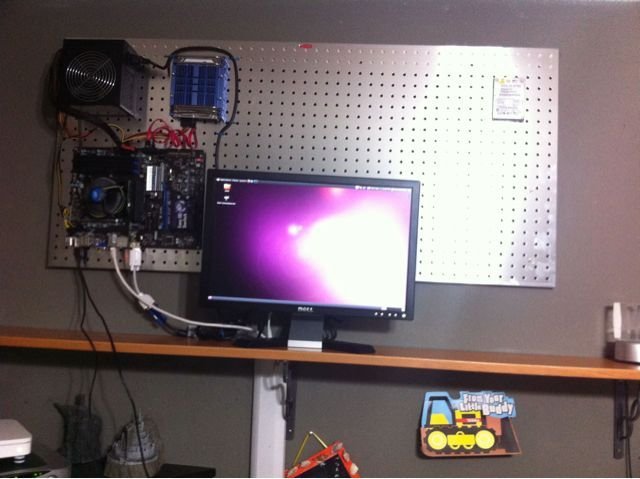
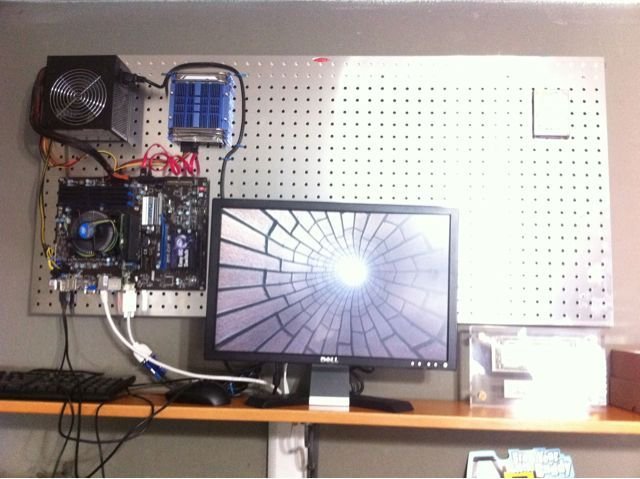
Using a aluminum Brushed pegboard.
- I took a piece of wood and trimmed a little off one side and mounted it to the wall this way there is a slit on the backside that the pegboard could side into
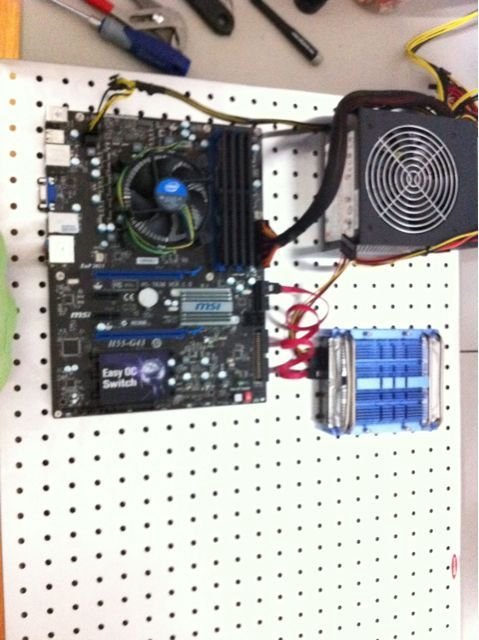
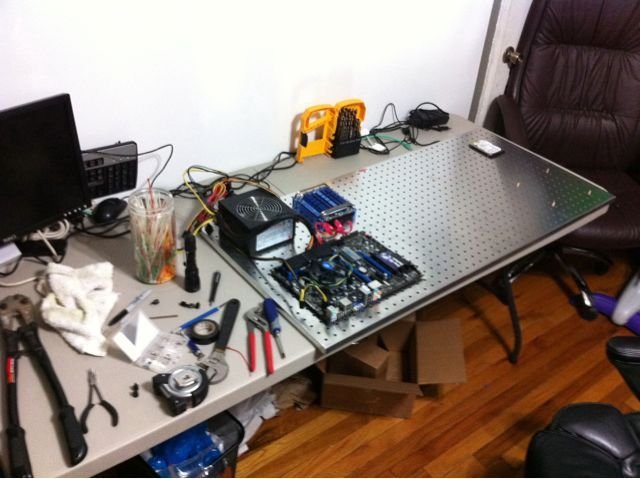
- I started laying out all the components (had an idea of the layout before hand using my white board)
- Marked wholes of the components with a marker and drilled out small wholes.
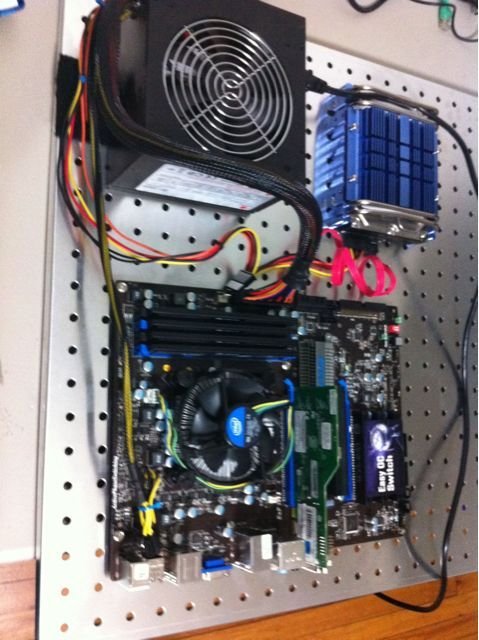
- Used standoff screws to mount boards.
- Put some electrical tape on the bottom of the hard drives and put screws though from back
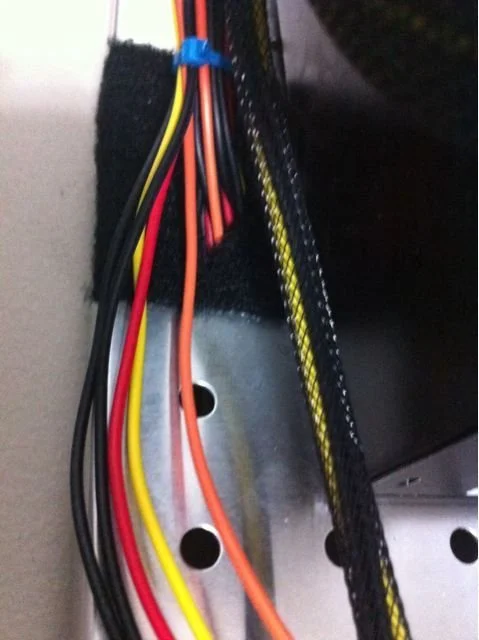
- Cut a small hole to the left of the power supply so i can push extra cables behind and keep a neat appearance
- The pegboard wholes made it easy to zip tie cables down.
- wasn't planing on keeping the monitor but will keep it around a bit longer and make sure things are good before removing
Ran into another bump in hardware with the Atom board. Seems i have gotten a bad board again. (not having much luck with hardware) any how what was happening is the board would not power up with a Nic in the PCI port. The new board should be here tomorrow and will continue the setup. I have drilled wholes and mounted the standoff screws for it as well as mounted the 2.5 harddrive